Easy Diy Printable Scrunchie Pattern - Fold the fabric in half lengthwise and sew the long edge. Set it down with the pattern side (good side) up. Pin the folded edges together. Turn the scrunchie right side out. Web make sure the tube doesn’t twist. Fold the fabric strip in half lengthwise, right sides facing. Cut the pattern out of the paper. Web here are the basic steps to make a scrunchie: I;ve even created a free printable pattern for you to follow along. This part of the scrunchie is optional, but it adds a fun detail.
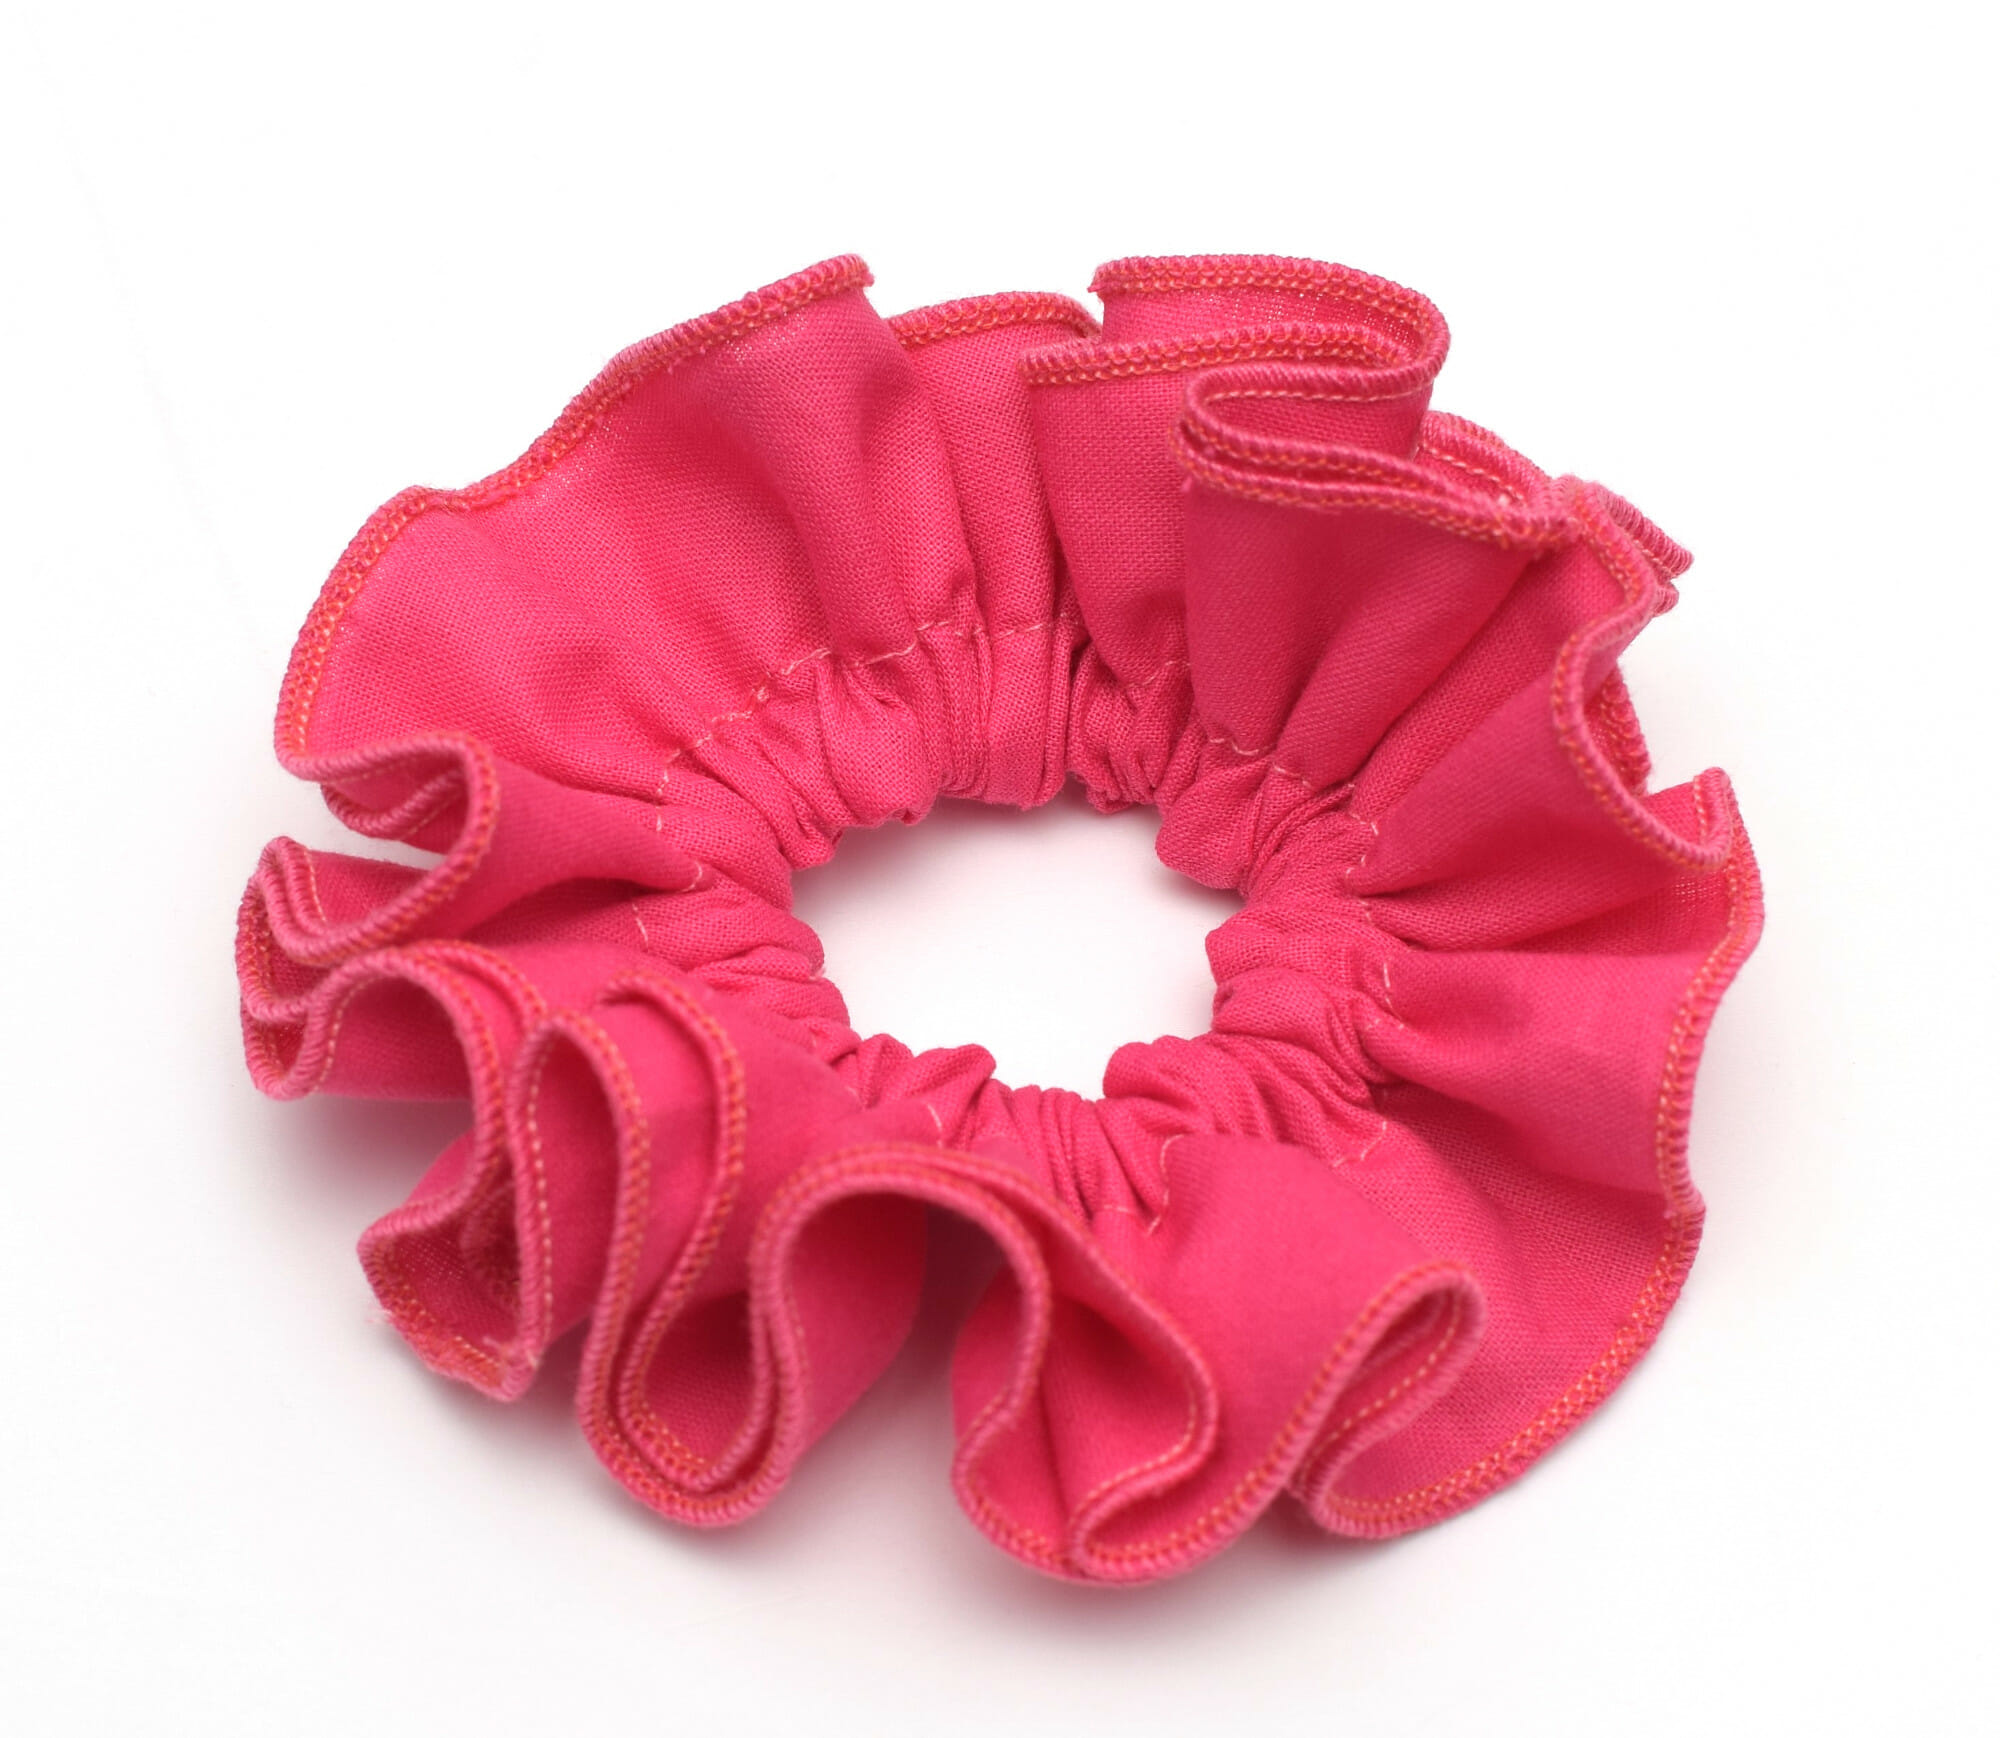
How to make DIY ruffled scrunchies I Can Sew This
Fold down one end of the fabric strip ½ inch. Web how to make a diy scrunchie. Web this silk diy scrunchie is about to.

DIY Scrunchies 2 Easy Methods Simple Sewing Tutorial Sewing Report
You honestly could do it all with a hand sewing needle if you wanted to. Web print out the pattern at 100% or do not.

DIY How to Make A Scrunchie Free Sewing Pattern Sweet Red Poppy
Match up the folded edges, so the hair tie is inside the fabric. Fold the fabric in half lengthwise and sew the long edge. Scrunchies.
Simple Scrunchie Pattern The Plaid Hedgehog
Web print out the pattern at 100% or do not scale. Insert elastic and stitch the ends together. Web this crochet scrunchie is so cute!.

FREE Scrunchie Sewing Pattern with Bow (Printable PDF Template) Easy
Web sew the extra tie piece. Fold the 8 strip with pointed ends in half, right sides together. Make your unique hair accessory with this.

Create Kids Couture DIY Hair Scrunchies using storebought hair
Before we can begin, get the free pattern download via the form above and print it out. If you plan to make a lot of.

FREE Printable Template Scrunchies with Tails (PDF Pattern) Free
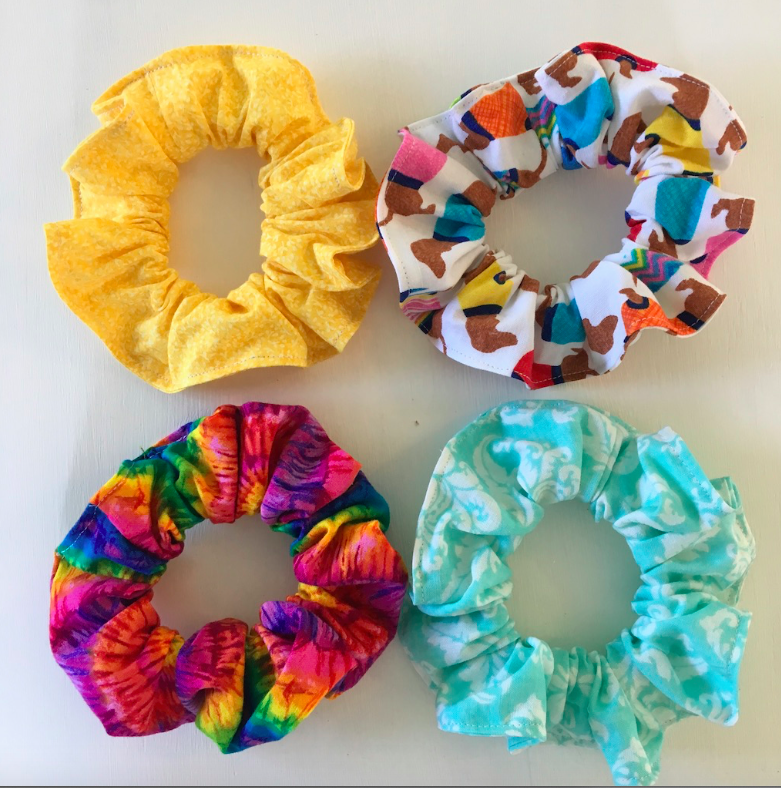
Tailored to your style, choose any fabric color that best suits your taste. I hope you enjoyed sewing this easy diy bow scrunchie! You may.

Easy Scrunchie Pattern Positively Splendid {Crafts, Sewing, Recipes
First, the super easy way. Turn over the short ends and sew. Web here are the basic steps to make a scrunchie: Overlap the ends.

DIY Scrunchie with Hair Tie (*New* Easiest Method) + Pattern
Place more pins in between the first two pins to secure the raw edges of the fabric together. Web measure your elastic by the size.

Scrunchie Pattern Free How To Make A Diy Scrunchie. Printable
It all depends on the texture and the size you want your scrunchie to turn out to be. Pin the tail pieces with right sides.
Knit The Bottom Loop Up Over And Off The Last Peg You Wrapped First (That Way.
Match up the folded edges, so the hair tie is inside the fabric. Leave a 3 gap in the middle for turning. Web turn under one narrow end of the fabric piece by ¼″ (0.7 cm) and topstitch so you create a finished edge. It all depends on the texture and the size you want your scrunchie to turn out to be.
You Should Have A Long, Skinny Rectangular Piece Of Fabric.
Tie a knot around the scrunchie, then a bow. Then, find a scrap piece of silky fabric , fold it in half, and cut out your pattern piece. Overlap elastic ends 1/2″ and stitch together to secure. Web fold it right sides together lengthwise and sew from each narrow end towards the middle of the strip.
Match Up The Short Ends Of The Scrunchie With Right Sides Together.
Place a pin 1.5 inches in from either end along the raw edges. Measure the 1″ box to make sure it is the right size. Choose your favourite colour of yarn and have. Web scrunchie pattern instructions.
Place The Scrunchie Under The Machine Needle And Stitch Right Across That Overlap.
Turn right side out using a chopstick or point turner (first one, then the other side) press and stitch the opening closed. First, the super easy way. Before we can begin, get the free pattern download via the form above and print it out. You honestly could do it all with a hand sewing needle if you wanted to.