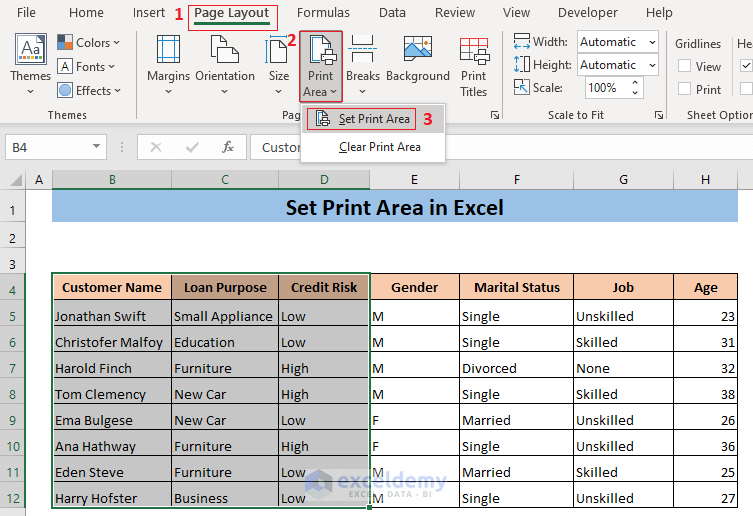
How To Set Printable Area In Excel - As with the excel desktop application, make sure you include all the relevant cells and columns that you want in the printout. Click page layout > print area > set print area. Select a range of cells. Web to set a single print area, select the cells. In the print dropdown, click on the “set print area”. Find tips, examples and macros for multiple sheets and pages. Here we have the steps: Highlight a cell range you want to print exclusively on the paper sheet. You can go to view menu on the ribbon and select one of the three options. Select your desired print area —> page layout tab —> print area —> set print area.

How to Set Print Areas in Excel A StepbyStep Guide
Finally, click “ print ” to print the designated area. The print area button in the page setup block of the page layout tab is.
:max_bytes(150000):strip_icc()/ExcelPageBreakPreview-5c1c28c8c9e77c00017a2ade.jpg)
How to Set Print Area in Excel
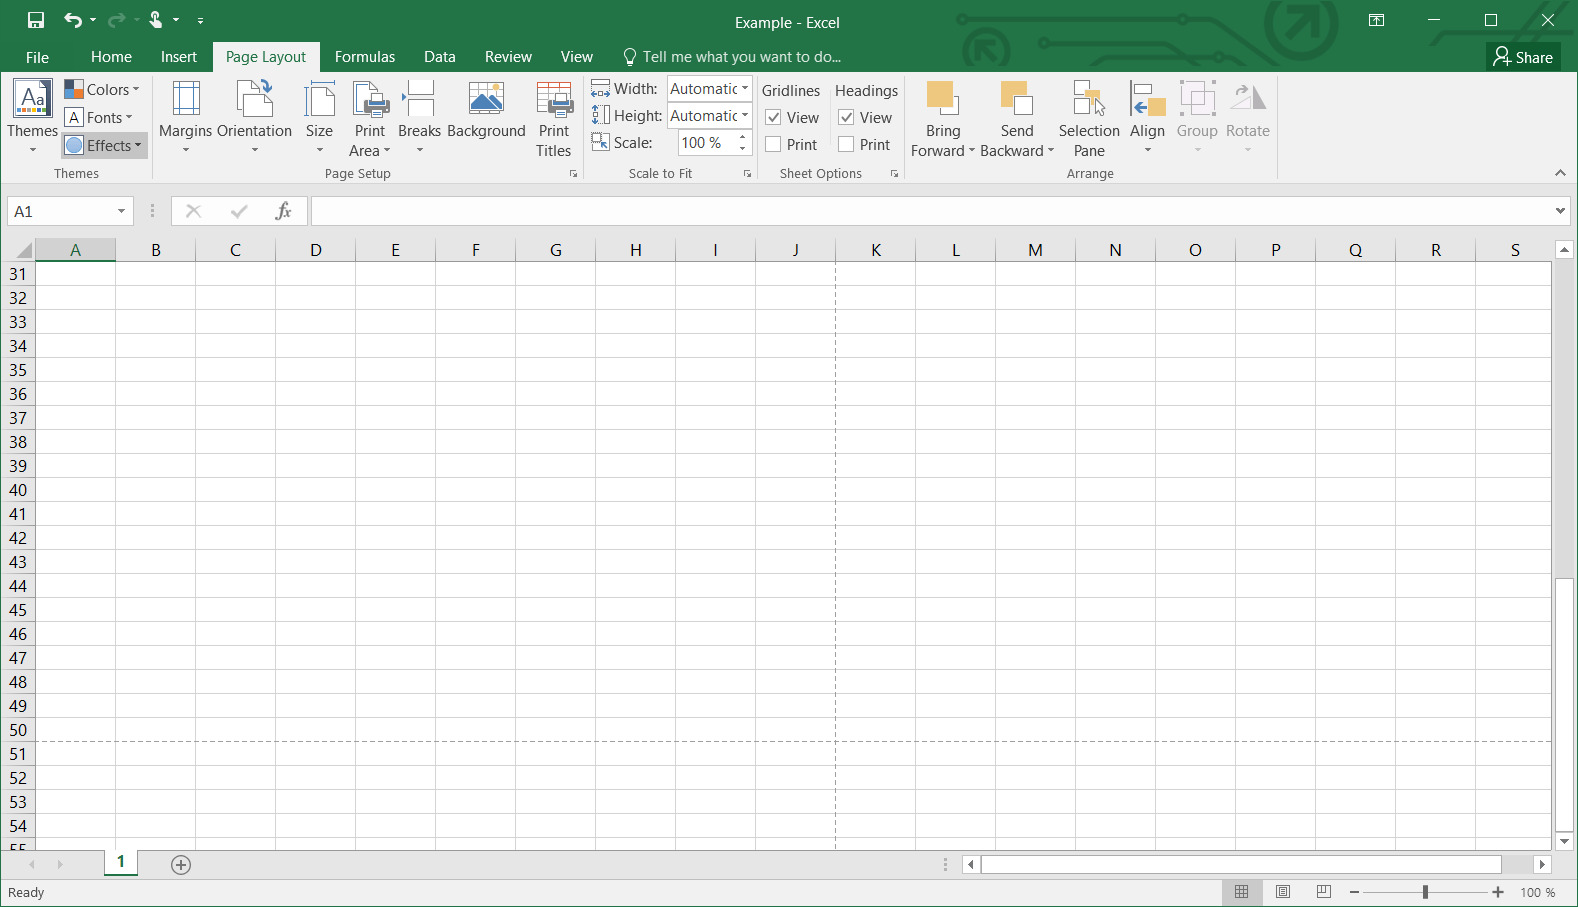
See the picture, this is where the end of the document is, you can see the long section below. Thirdly, choose the set print area.

How To Change Printable Area In Excel
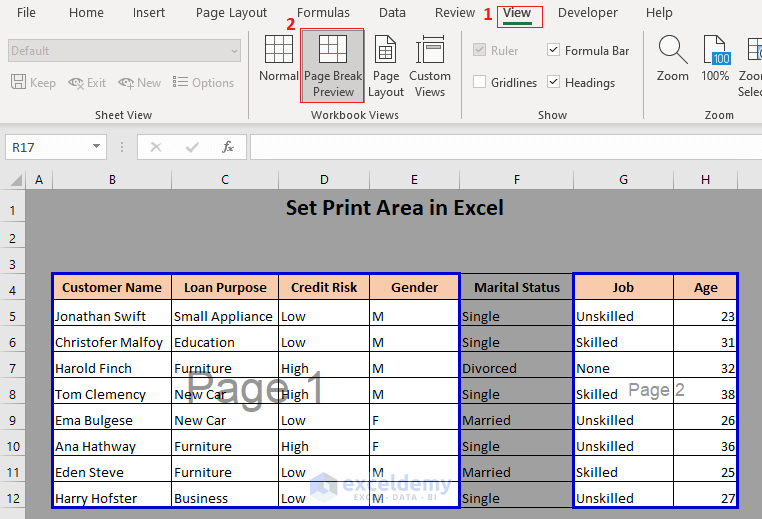
Using set print area option to print multiple pages in excel. Click the print area button. You can go to view menu on the ribbon.
How to set the print area in Excel IONOS
Select the area you want to print. To view the print area, go to the view tab and select page break preview. Row with incl.
How to Set Print Area in Excel (5 Methods) ExcelDemy
Once a print area is set, add additional print areas by selecting the additional cells, clicking the print area button, and selecting add to print.
:max_bytes(150000):strip_icc()/ExcelSetPrintArea-5c23d199c9e77c0001adc722.jpg)
How to Set Print Area in Excel
Find tips, examples and macros for multiple sheets and pages. Web 347k views 2 years ago #microsoftexceltutorial #excelquickandeasy #easyclickacademy. Select cells > go to page.
How to Set Print Area in Excel (5 Methods) ExcelDemy
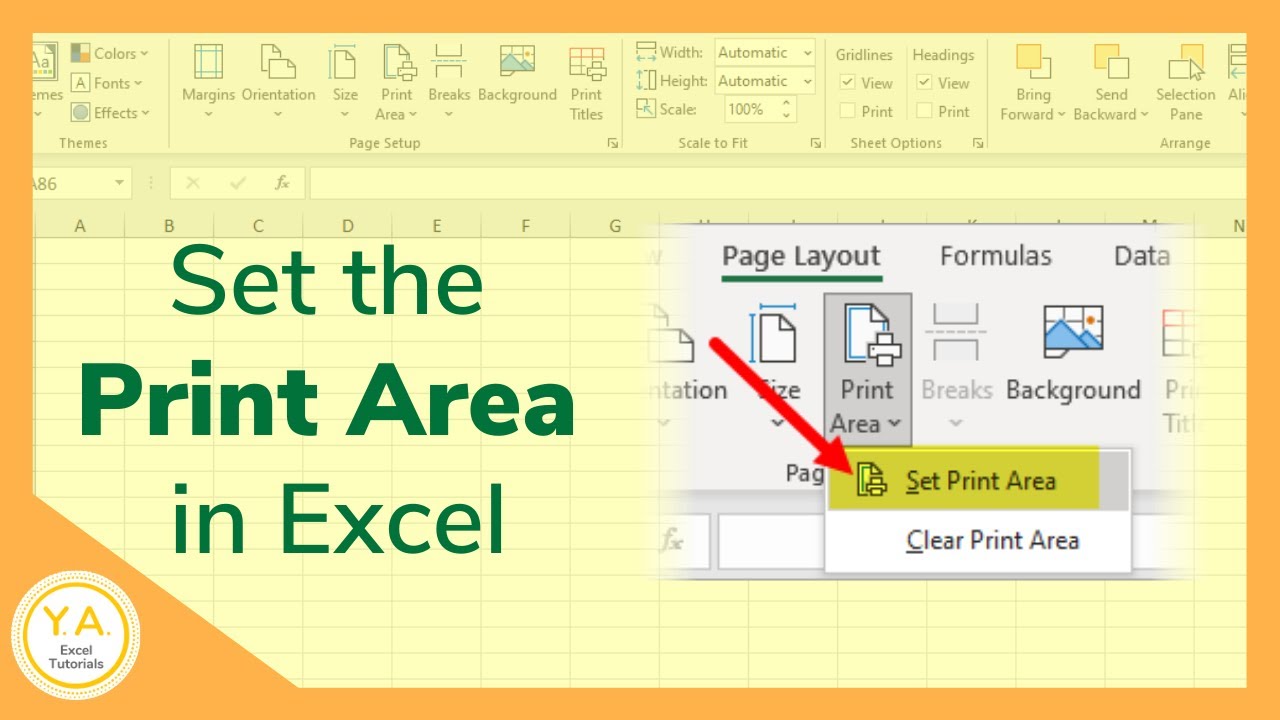
Use set print area command to change print area in excel. Then in the ribbon, go to page layout > print area > set print.
Print Area in Excel Tutorial YouTube
Today we’ll be talking about how to set the print area in excel. You will know the print area is set when you see the.
How to set print area in excel
Today we’ll be talking about how to set the print area in excel. Web in this excel tutorial, you'll learn how to set the print.

How to View the Print Area in Excel 2010 Solve Your Tech
To set multiple print areas, hold down the ctrl key and click the areas you want to print. Web learn how to define, modify and.
Web Learn How To Define, Modify And Remove Print Areas In Excel To Control What To Print On Paper.
Web users can set the part of a sheet as a print area using the excel print area option, which contains data intended to be printed frequently, such as daily sales reports or test results. Highlight a cell range you want to print exclusively on the paper sheet. Once a print area is set, add additional print areas by selecting the additional cells, clicking the print area button, and selecting add to print area. Click the print area button.
Select The Cells Which We Want To Set As The Print Area For Page 1.
Firstly, select the desired data table. In the print dropdown, click on the “set print area”. Updated on july 11, 2022. Web to set a print area, execute the following steps.
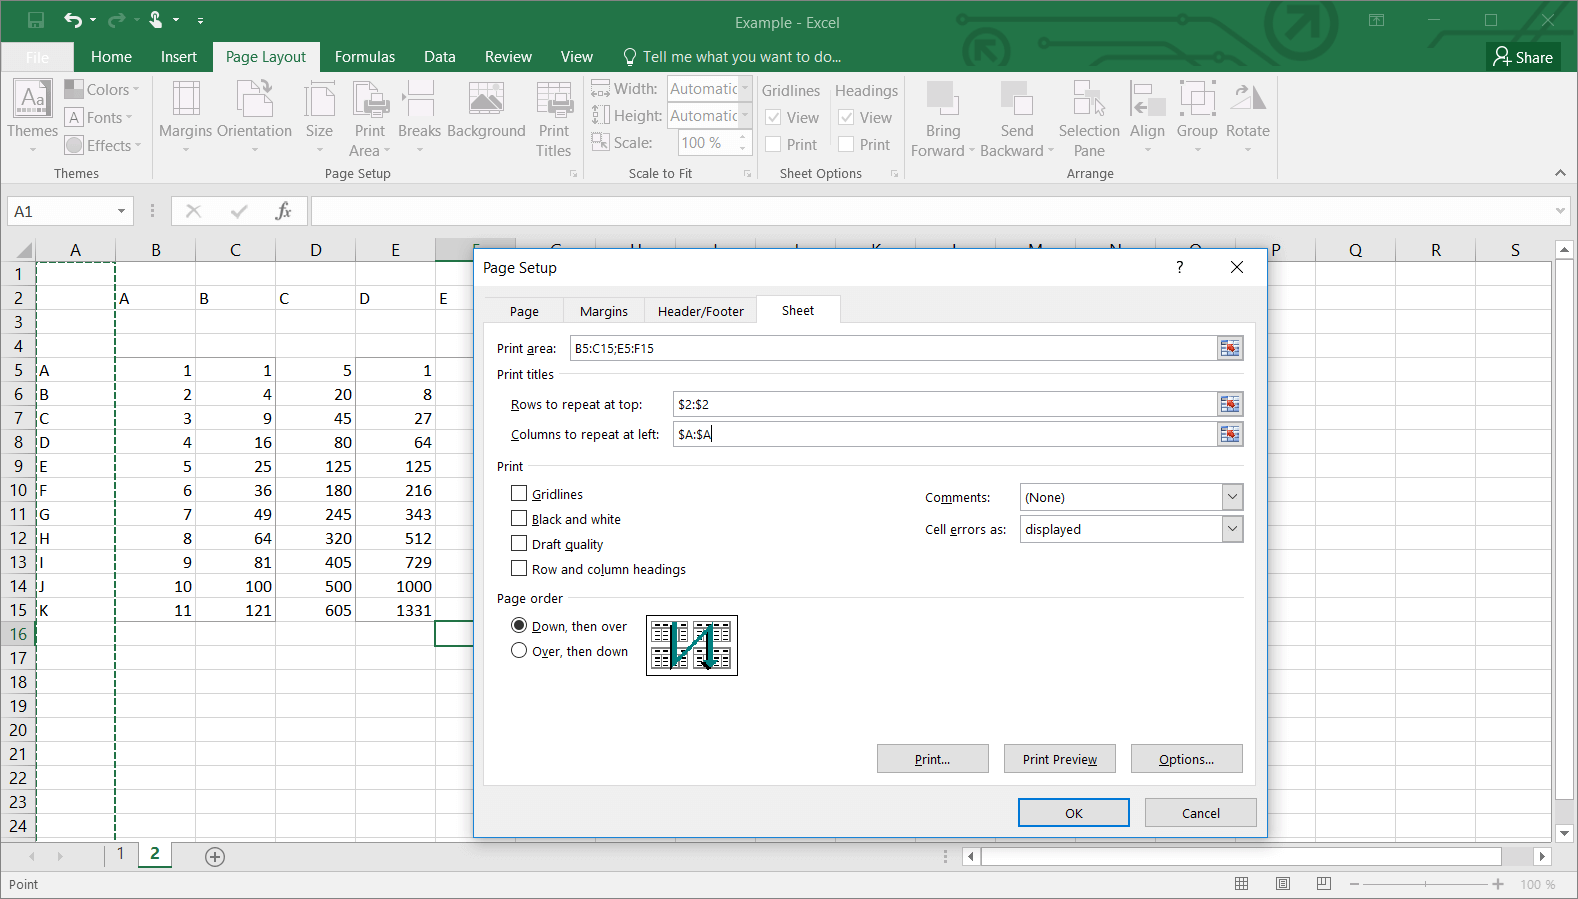
Fourthly, Go To The Print Titles Option On The Side Of The Print Area Option.
We can change the print area in excel with the help of the set print area command. On the file tab, click print. Find tips, examples and macros for multiple sheets and pages. Today we’ll be talking about how to set the print area in excel.
Choose Set Print Area. To Set Multiple Print Areas In Your Sheet, Hold Ctrl As You Select Each Group Of Cells.
Hold ctrl while selecting areas > page layout. Only the print area will be printed. Select the area you want to print. You can go to view menu on the ribbon and select one of the three options.